|
|
........ SMOOTH ON ALL SIX |
_______________________________________________________________________________________________
Winter 2007-08
The major issues have been to fit halogen headlights and overhaul the front brakes including a remote servo brake. A Tonneau cover has been fitted and heated seat pads has been mounted underneath the seat covers on the front seats.
The main issues are described with pictures below. At the very end is a list of minor work.
À Fitting Halogen headlights, right-dip for LHD
À Fitting remote Servo brake and Greenstuff pads
À Fitting Tonneau cover
À Fitting heated seat-pads underneath the seat covers
À Changed gear level bush
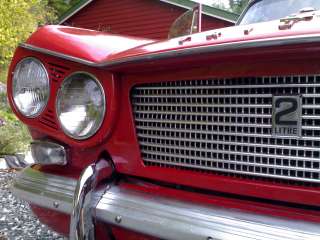
Mounting Halogen headlights
Halogen headlights, 5/4ö right dip for LHD was acquired from Stafford Vehicle Components Ltd. Very good service, and cheaper than the others. Two headlights with H4 Halogen and two headlights with H1 Halogen were chosen. It was VERY easy to interchange these with the sealed beam headlights. They fitted perfect without any modification.
They behave bulged as the original sealed beam and the improvement are significant. A very good and highly recommended upgrade.
|
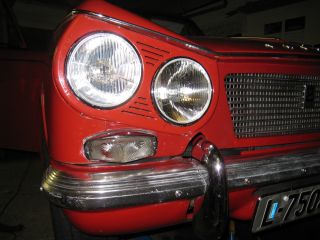 Fitted :-) Fitted :-)
|

|
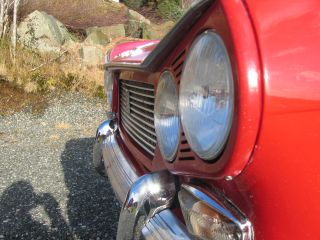 Bulged - as the original ones Bulged - as the original ones |
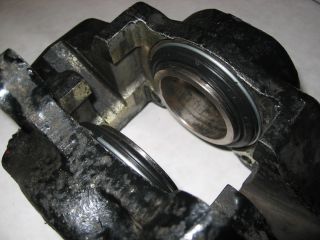
Overhaul the front brakes and fitting greenstuff pads
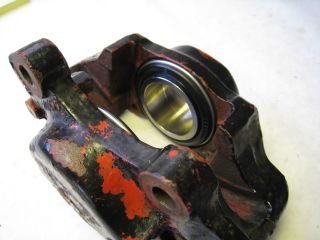
The front brakes needed an overhaul and any possible improvements. Both calipers where dismantled for inspection. The left-hand caliper and seals where ok, but the right-hand pistons where shucked within the caliper. That was expected as the car pulled a bit to the left when braking. All pistons where removed. The pistons on the right-hand caliper where interchanged. All seals on both calipers where also interchanged. The pistons were greased with special grease suitable for brake calipers/pistons.
Green stuff brake pads were fitted. The brakes were tested. They were significantly improved, and the car does not pull over to the left when braking. I did this brake test before mounting the remote brake servo as described below.
|
 Left-hand caliper with new seals Left-hand caliper with new seals
|
 Right-hand caliper with new pistons and seals Right-hand caliper with new pistons and seals
|
|
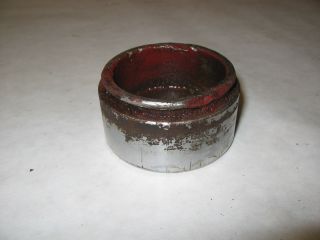 Old piston on the right-hand side - was stuced due to rust. Interchanged. Old piston on the right-hand side - was stuced due to rust. Interchanged.
|
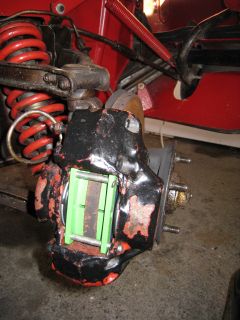
Greenstuff pads fitted - right-hand side |
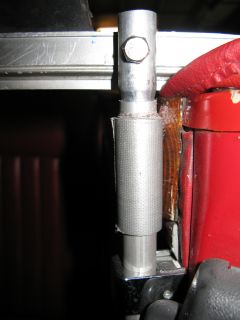
Mounting remote brake servo
Powertune remote Servo brake kit was mounted. The major challenge was to figure out available space for it. It is relatively large, and the room available close to the brake master cylinder is rather limited on LHD cars. I mounted it partly on the bulkhead and manufactured a bracket underneath to ensure a rattle-free fit. The bracket was needed to support the servo unit - it was fitted quite well.
Fitting the brake pipes where quite straight forward. Fitting the vacuum tube was also straight forward as there was a vacuum connection already fitted to the manifold.
|
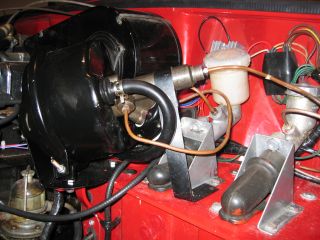 Brake servo fitted Brake servo fitted
|
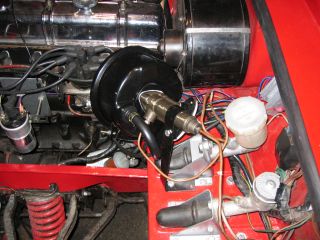 Brake servo fitted Brake servo fitted
|
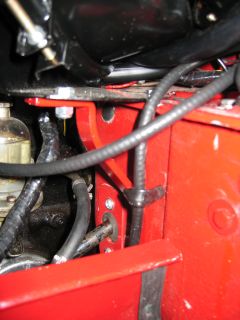 Bracket underneath to support the unit Bracket underneath to support the unit
|
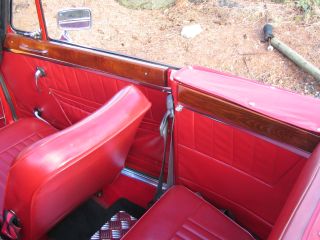
Fitting heated seat pads
When driving in relatively cold weather, hood down but with the tonneau cover fitted heated seats is desired. I found heated pads at a local store. These could easily be fitted underneath the seat covers.
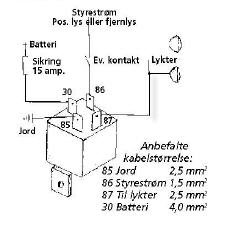
The rubber seat diaphragm was dismantled together with the base rubber foam. The pads where then fitted underneath the cover of the seat back and on the seat base rubber foam. The rubber foam and seat diaphragm was re-fitted. Again û a very easy operation and a significant improvement. Switches - one for left-hand seat and one for right-hand seat - were properly fitted with relays and fuses.
I've also mounted an easy removable electric heater that can be connected to the lighter socket.
|
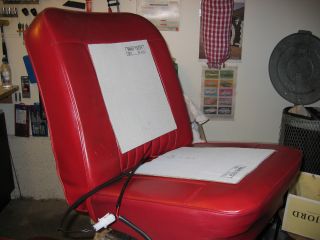 How the pads fit. Before fitting them underneath the seat cover How the pads fit. Before fitting them underneath the seat cover
|
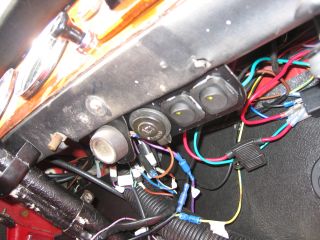 The switches - well hidden underneath the dash The switches - well hidden underneath the dash
|
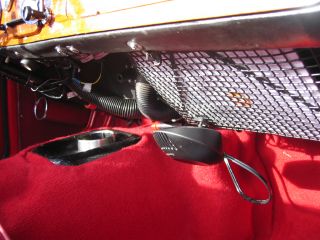 Electric heater underneath the dash. Electric heater underneath the dash.
|
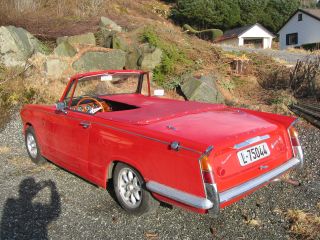
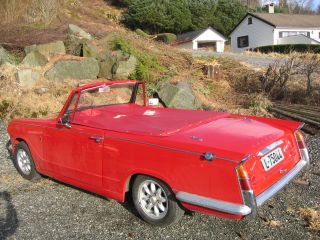
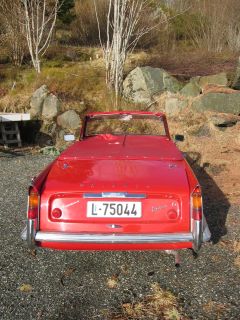
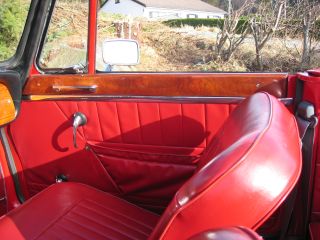
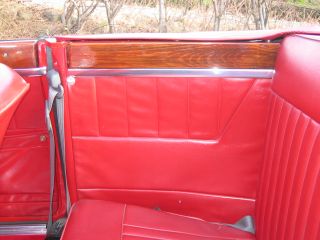
Fitting Tonneau cover
Tonneau cover for LHD was bought from Prestige Auto Trim. The quality was SV-vinyl which was used as original equipment by most British sports car manufacturers. To suit the rest of the car, the colour chosen was obviously red.
The shape of the cover was as perfect as can be expected. By following the fittings instructions shown here, the tonneau cover fit very well onto the Vitesse.
By using the tonneau cover, the heater on and blowing into the car together with the heated seat pads ensure comfortable open-drive down to around 5-6 deg C. The open-drive season is thereby extended by a couple of months ...... :-)
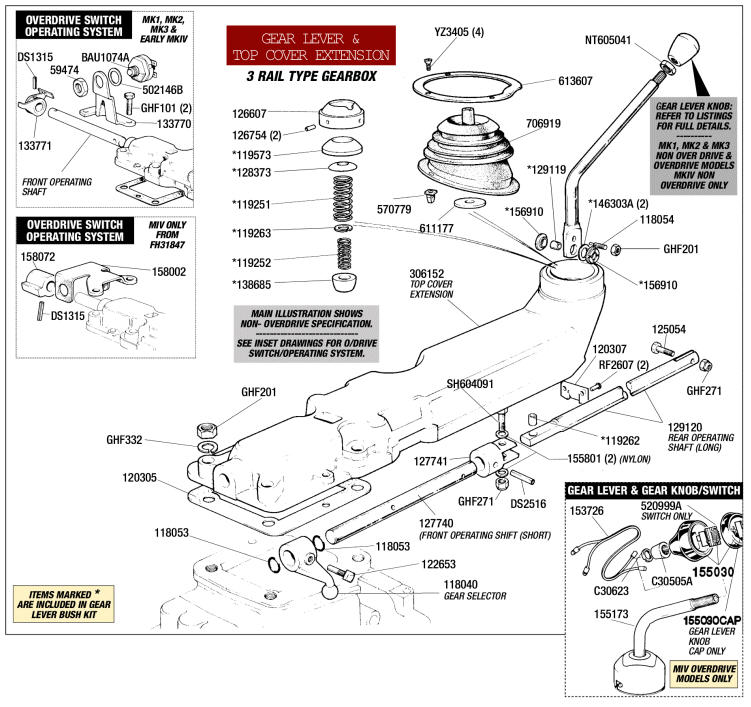
Changed gear level bush
The gear level bush needed replacement. Part no. 138685, the nylon ball was interchanged. See the drawing here. The gear level was very much improved and the gear shifts are now very smooth. When the gearbox cover was off, I used the opportunity to take some pictures of the gear box - from inside the car.
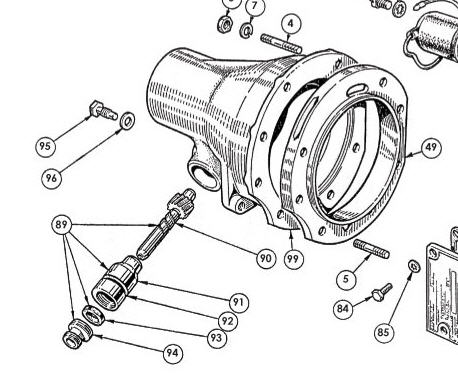
I also changed the seal from speedo-drive to OD due to a minor oil leakage - see part no. 92 on the drawing here.
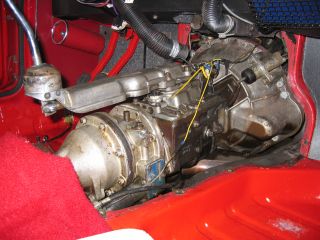 Right-hand side of gearbox Right-hand side of gearbox |
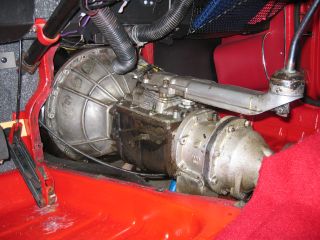 Left-hand side of gearbox Left-hand side of gearbox |
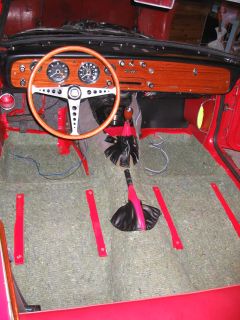
Sound deadening
I have earlier described what I've done regarding sound deadening - see here. To further sound dead the interior I decided to put felt insulation material on the floor underneath the carpet. Personally IÆm not comfortable with felt-material as it may suck water and cause corrosion. However, I decided to give it a try this season as the car is almost only driven when there is dry spell. I will for sure inspect it both during the season and when the car is rested during next winter.
|
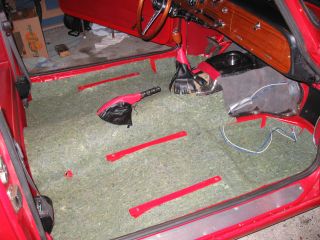
The coupÚ |
The coupÚ |
|
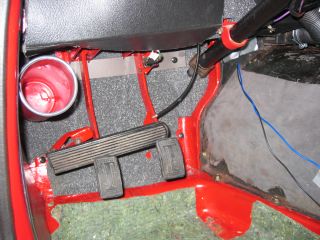 Drivers footwell Drivers footwell |
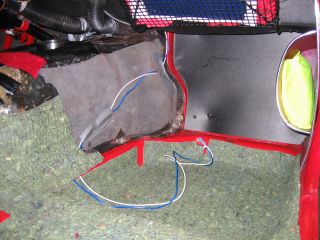
Passengers footwell |
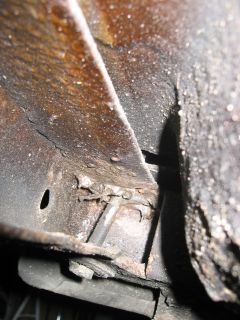
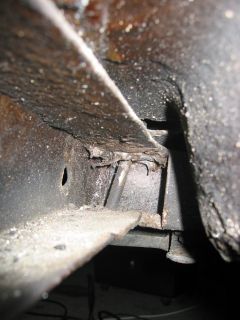
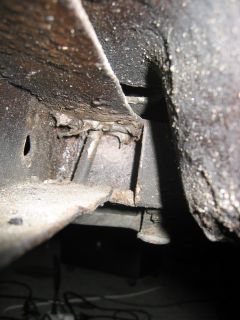
Front right-hand outrigger
There is some minor rust at the front outrigger on the right-hand side. This has been cleaned and treated with rust converter before covered by rust protection. Below is some pictures, and I do not regards this as serious.
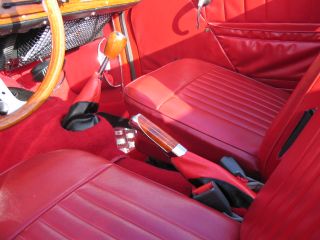
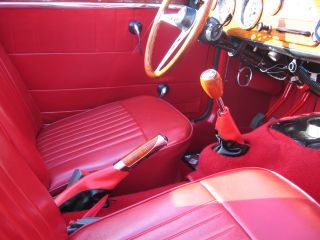
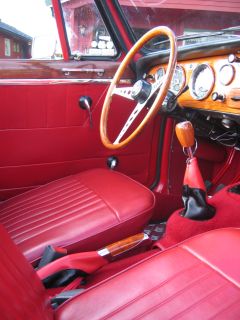
DÚcor
The rubber gear- and handbrake gaiters have been replaced by leather-type gaiters. Not original, but in my opinion it looks good. I've also fitted chrome moulding under the wooden door capings. Also those look good - in my opinon.
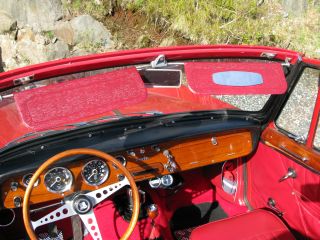
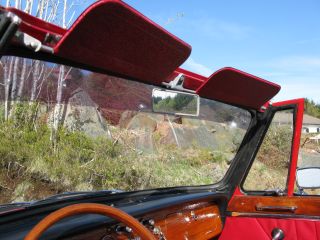
Painting sun visors and mounting Red rear lenses
To complete the red finish of the entire Vitesse the sun visors was painted with vinyl aerosol. This was mixed by Gasolin in Norway, and it was a product by Bradleys. The colour code that matched Matador Red was RAL 3011. Prior to painting, the visors were cleaned with Plasticprep to ensure the vinyl paint stick properly to the vinyl. Seems to work very well.
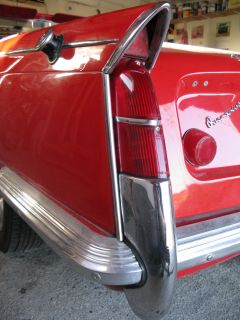
Further the rear lenses were changed to the US-spec that is entirely red.
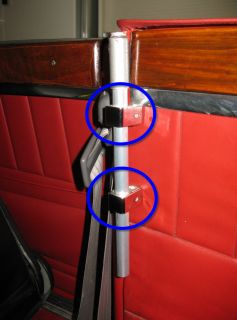
Wind deflector
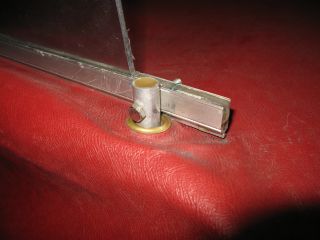
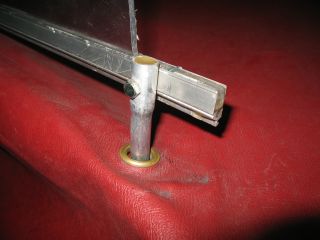
During long rides it can be a bit uncomfortable due to the turbulence from the rear. A wind deflector is available from Rimmer - see here, however I was not convinced whether it fit properly etc. I therefore decided to construct it myself with a plate of plexiglass. I used Lexan from Sabic.
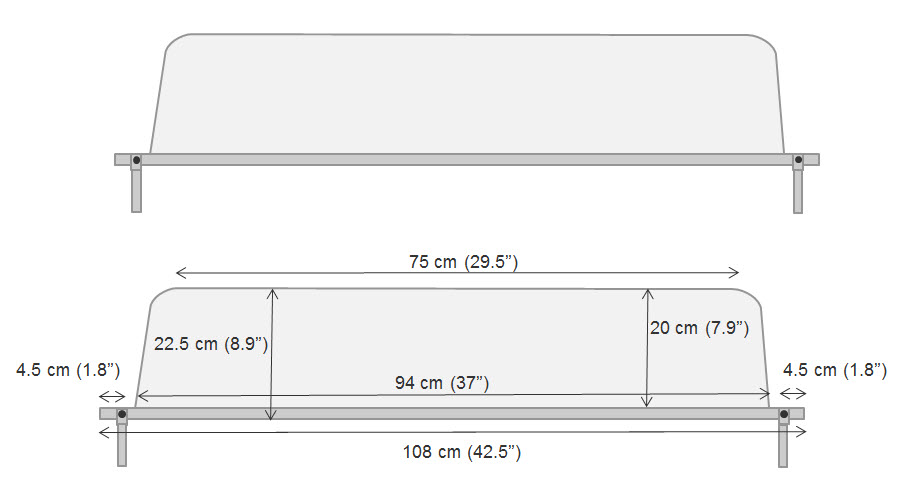
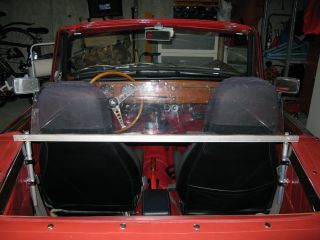
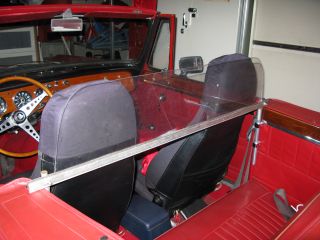
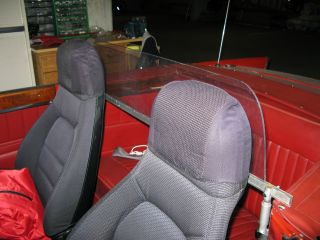
Prior to this IÆve tested with a variety of wood plates to ensure it stopped the wind properly. The main issue was to design the actual fitting to ensure that the deflector could be dismantled quickly. I ended up by using some old tent poles and fitting used by regular plumbers J . The tent poles made the wind deflector very easy to fit and detach. The only modification I had to do was to make two tiny holes in the rear trim for the plumber-fittings, and further used the holes where the trim is attached to the frame. This construction did not prevent turbulence in between the seats; however I designed it so I can use the tonneau cover together with the wind deflector - just two holes for the tent-poles through the tonneau cover. The important issue for me is that it actually works and is easy to dismantle by just drag the "tent pole" out of each other. I used a frame/rail at the bottom of the plexiglass. The frame/rail was a part of an old shower-cabinet. The plexiglass was fitted by using polyester. A very proper fit that prevent severe flexibility. A support û made of wood û was place between the tonneau cover and the rail to prevent a gap that evolves due to the turbulence.
I've used the wind deflector for several years (comment made in 2012) and are very happy with the design. It works best without the tonneau cover as the turbulence/wind-stream gets through the seats. With the tonneau the wind is prevented to pass into the compartment and some wind finds its way to the neck û however, still significantly reduced.
All in all, I can say that this deflector can be made by most of us û just a frame at the bottom, Plexiglas and polyester. The measurements of the final wind deflector are given below together with illustrating pictures.
|
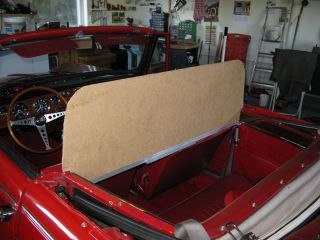
The prototype |

Almost invisible .... |
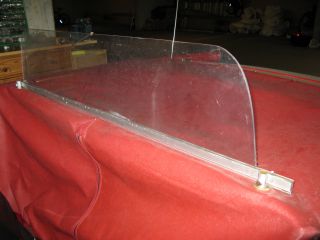
Note the frame/rail at the bottom - make it sufficiently stiff |
|
Note the frame/rail at the bottom |
The fitting |
|
|
The tent poles through the tonneau |
Detach the tent poles through the tonneau |
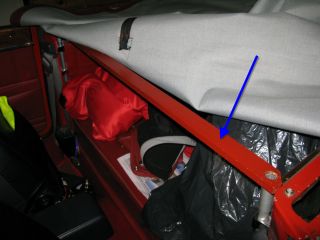
A support was place between the tonneau cover and the rail to prevent a gap that evolves due to the turbulence |
|
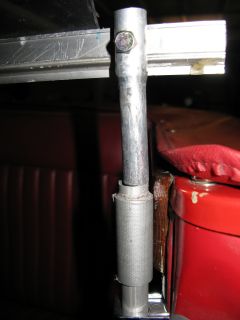
The two tent poles detached |
The two tent poles atached |
The tent pole fitted by plumber-fittings |
 
Regular tube fittings from a plumber
Various bits and pieces, minor issues
I addition to the above a number of small issues have been done:
À Mounting correct bracket underneath the dash - see here
À The KPH-speedo was calibrated at JDO Instruments and mounted. A full re-calibration was performed adjust for the 2l gearbox and OD (this speedo was originally mounted on the 1600 engine and gearbox without OD).
À Changes the front 1/4-light seal
À Fit inner and outer weather seals on front doors
À Changes the indicator switch as the old one showed dysfunction
À Changed seal from speedo-drive to OD - see here
| 
