Mounting spin-on oil filter conversion see
Change from RHD to LHD
Change from RHD to LHD turned out - as expected - to be rather easy and straight forward. No major challenges occured, and it was just a matter of time to proceed carefully so the final result will be good.
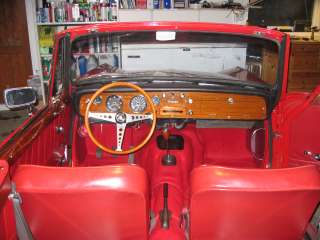
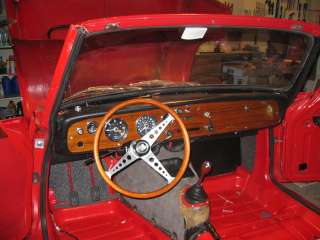
The wood facia was not perfect so it needed to be at least sanded down and varnished. However, by using the sandpaper it went directly through the veneer. I had to re-veneer the facia, and that was done at a local joinery who has a veneer press with all their machinery. They fitted the veneer, and me myself had to cut all the holes for instruments, switches and the glove box. It was quite easy to cut the holes, and the facia was varnished with 12 coats, 6 using a light golden brown gloss varnish (Jotun - Ravilakk) and the 6 latter using a clear gloss varnish (Jotun - Clipper II). Both these varnishes where specially suited for marine use.
The wood facia was then fitted to the facia panel - quite straight forward. All instruments and switches were mounted when the entire assembly was mounted in the car.
Before fitting the entire facia panel to the car, I continued to remove the battery box on the left-side and the brake- and clutch pedals on the right side. On both side - especially on the right side - various holes were left. These had to be filled. For simplicity (and if anyone would like to change back to RHD! :-) I tightened the holes simply with fibreglass and filler to end up with a smooth surface. It was then coated quite simply with red paint from a spray box. Amateurish - Yes, however the result was absolutely very satisfactorily.
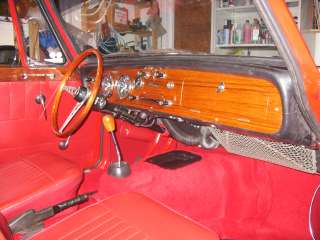
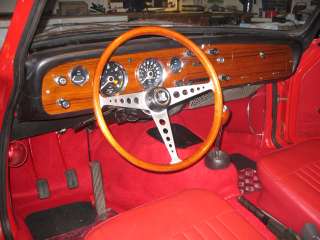
The dash panel was then fitted and all instruments and switches were mounted. Tedious work, but also this turned out to be quite straight forward. The only hassle was the steering column support bracket. This was suited for RHD, and it was quite hard to bend it to the right angle. The solution was to extend it a bit so it fitted to the facia and the steering column.
|
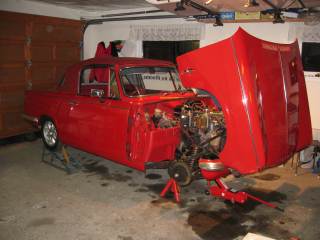 The Vitesse jacked up and ready for conversion The Vitesse jacked up and ready for conversion
|
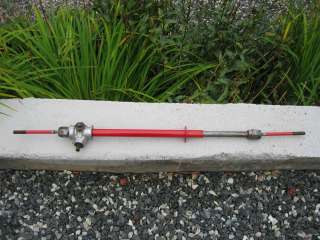 LHD steering rack - painted and greased LHD steering rack - painted and greased
|
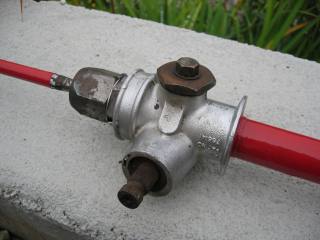 LHD steering rack - detail (junction) LHD steering rack - detail (junction)
|
|
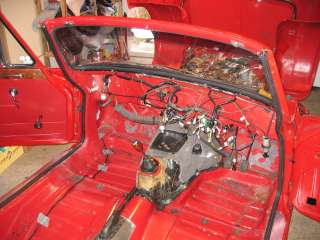 - stripped-down ....... - stripped-down .......
|
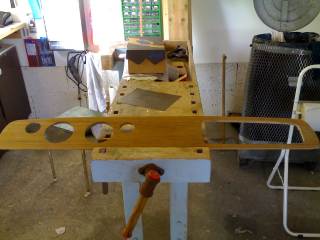 Wood facia, re-veneered and holes are cutted Wood facia, re-veneered and holes are cutted
|
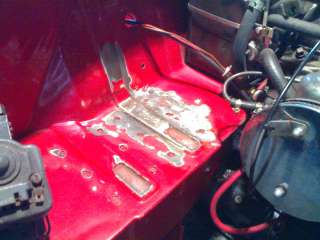 Filling the holes where brake- and clutch master cylinders were mounted Filling the holes where brake- and clutch master cylinders were mounted
|
|
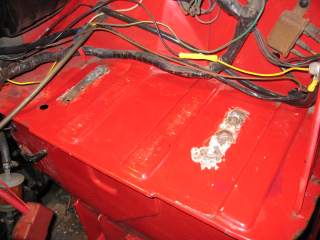 Filling the holes where the battery box was mounted Filling the holes where the battery box was mounted
|
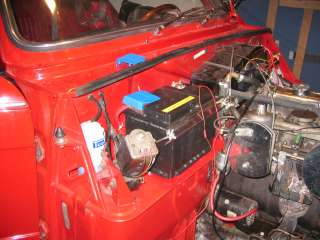 Battery fitted on the right hand side Battery fitted on the right hand side
|
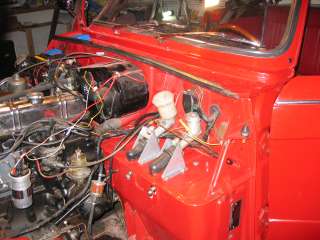 Brake- and clutch master cylinders fitted on the left hand side Brake- and clutch master cylinders fitted on the left hand side
|
|
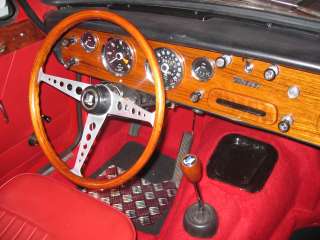
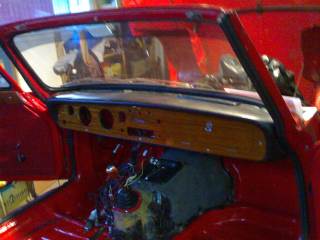 Facia panel just fitted Facia panel just fitted
|
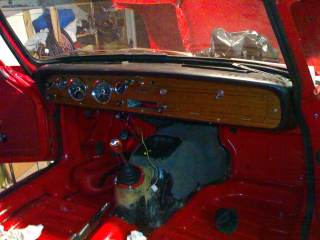 Fitting instruments and switches Fitting instruments and switches
|
 Steering column fitted Steering column fitted
|
|
 .... and even the coupÚ light works... :-) .... and even the coupÚ light works... :-)
|
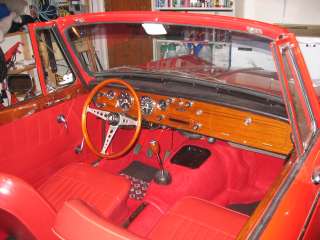
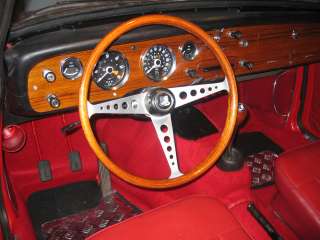
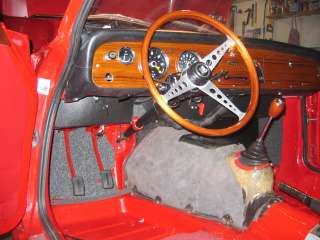 Everything fitted very well and seems to be solid Everything fitted very well and seems to be solid
|
 Job done :-) Job done :-)
|
|
|
|
|
Fitting carpets
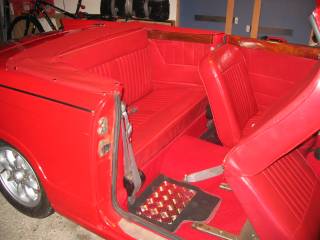
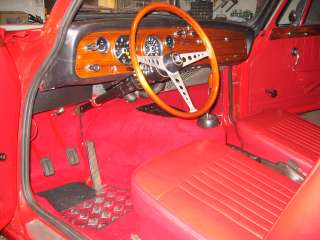
The next step was to fit the carpets. It is a moulded carpet set from Newton Commercial. When fitting the carpets, I also fitted dash area insulation underneath the upper and lower dash panels - millboards. Red front footwell scuttle panels were also fitted - the right side with a pocket. Everything was available from Newton Commercial, and fitted pretty well.
The bulkhead mat was glued to the metal bulkhead, and then cut carefully at each ends toward the B-post. All other parts of the carpet fitted so well that no adhesive was necessary. The only tricky parts - although not difficult, just tedious - was to cut exactly the hole for the handbrake gaiter and to cut the rear corners of the rear carpet toward the B-post and where the carpet meets thebulkhead mat.
The insulation was glued to the front bulkhead and the lower dash millboards were fitted. The upper millboard - though - was a trickier item to fit. When the dash panel, instruments etc. are all mounted there is not much space to fit the upper millboard. However, by taking the time, calm down etc. it fitted pretty well after all.
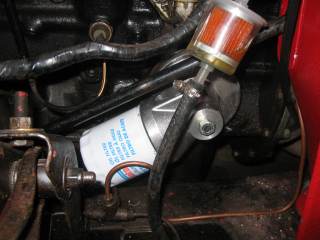
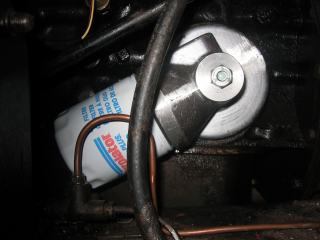
Mounting spin-on oil filter conversion kit
Also quite straight forward. However the left engine valance must be removed. Due to the steering column (LHD) the space is quite limited. The filter is mounted with an angle downward. This is supposed to be OK, according to a question/discussion on the TSSC messageboard.
Fitting letter tray and a hidden bracket for outer temperature and clock
Even though the letter tray only were fitted on th early 948 Heralds, the mounting brackets on the bulkhead continued to 1964-65 on all Heralds and Vitesses. These were assempled originally on the RH side on my Vitesse. I got hold of this one at Rarebits4Classics. Easy to mount and fitted straight in - a very convenient item. The letter tray was later painted black.
|
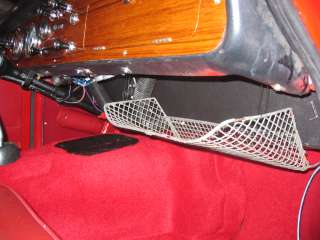 Letter tray fitted Letter tray fitted
|
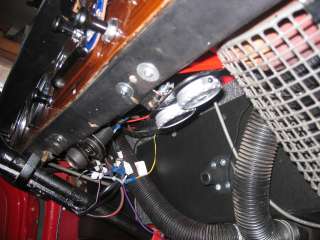
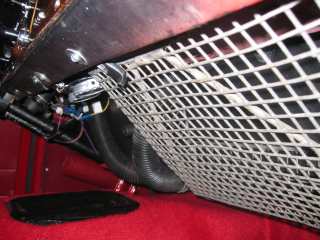 Note the fitting bracket........ Note the fitting bracket........
|
 Quite simple: just a piece of iron, cut and shaped, and a hole drilled underneath the dash panle. Quite simple: just a piece of iron, cut and shaped, and a hole drilled underneath the dash panle.
|
|
 And a very convenient item fitted :-) And a very convenient item fitted :-)
|
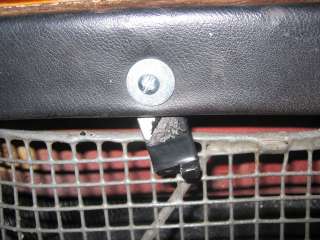
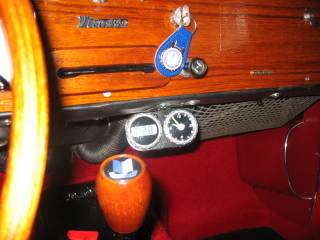 Outer temp. and clock - mounted on a hinge........ Outer temp. and clock - mounted on a hinge........ |
 ....... that can be bended and hidden underneath the dash panel ....... that can be bended and hidden underneath the dash panel
|
|
|
|
|
Various bits and pieces, minor issues
I addition to the above a number of small issues have been done:
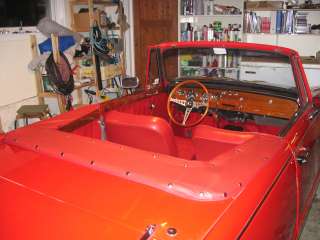
À Fitting red hood cover
À Washing, painting and wax oil front- and rear footwells and boot
À Fit sound deadening in the boot
À Fixed some rumble in the right door
À Replaced the bushes (2 each) in the steering column
À Justify the door handles, push knob
À Tighten the bonnet trim
À Adjust heater distribution to properly send warm air to windscreen or floor
À Replaced the heater valve cable
À Fitted electronic ignition
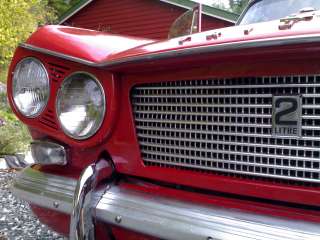
À Fitting 2l badges on the bonnet sides